

 Nederlands
 Deutsch
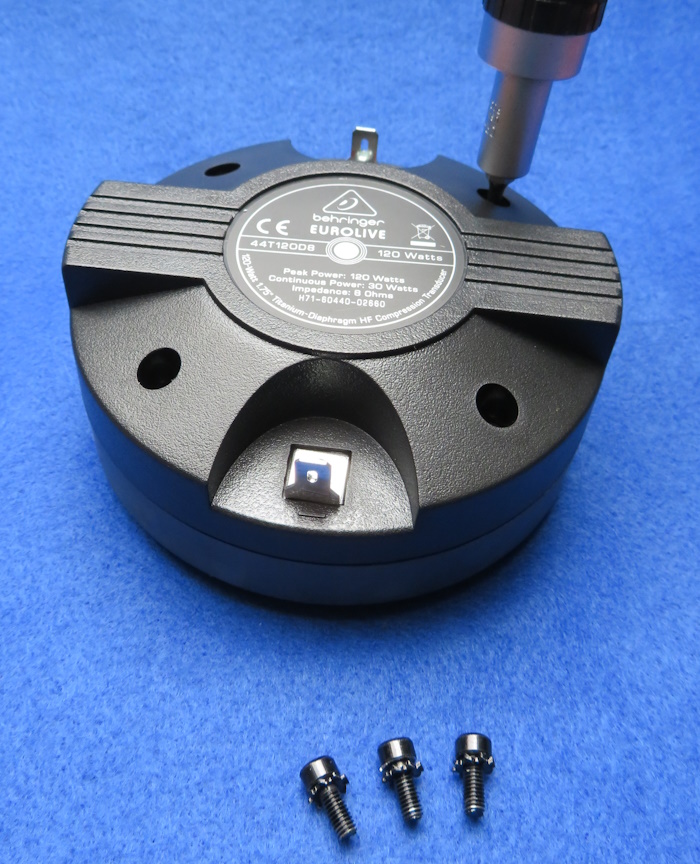
Behringer Eurolive tweeter 44T120D8
Before performing these steps, the tweeter must be removed from the speaker housing.
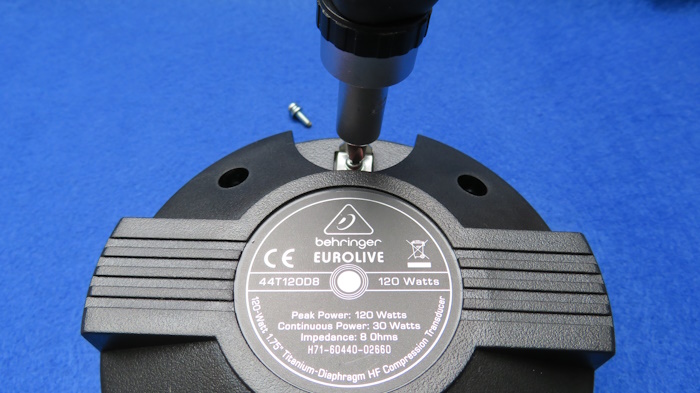
Step 1. Remove the tweeter cover. To do this, four screws must be loosened.
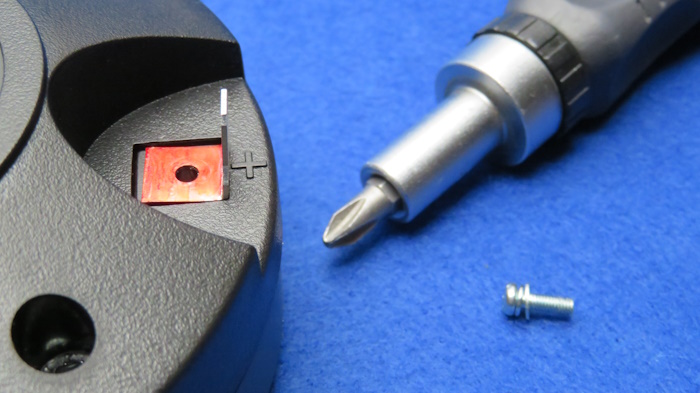
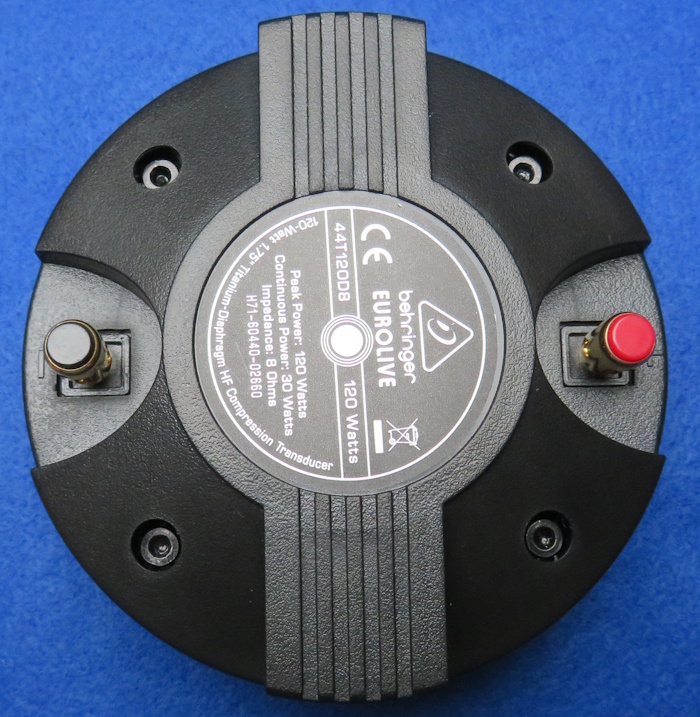
Step 2: Loosen the screws that hold the terminals in place.
Step 3: Mark the positive side of the tweeter with red.
Step 4: Remove the tweeter cover. Remove the defective diaphragm from the magnet. Then clean (for example with folded masking tape, make sure both sides are sticky) the air gap of the magnet.

Step 5: Install the new diaphragm. You can use an original Behringer diaphragm, but there are also good aftermarket diaphragms (including P. Audio) on the market. The diaphragm falls into a recess in the magnet and thus centers itself

Step 6: Place the cover back on the tweeter. Tighten the screws, but not too tight. The cover is not very strong and can tear if the screws are tightened too much. The red pole of the diaphragm (the plus pole) must be on the correct side.
© Good Hifi VOF